$4.95
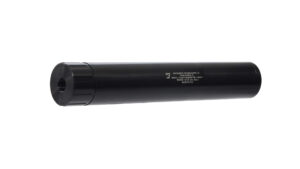
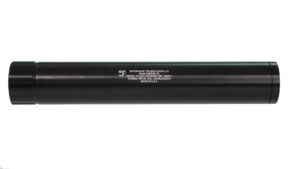
Flash Foward Silver Soldering Kit
9 in stock
Description
Shockwave Silver Soldering Kit
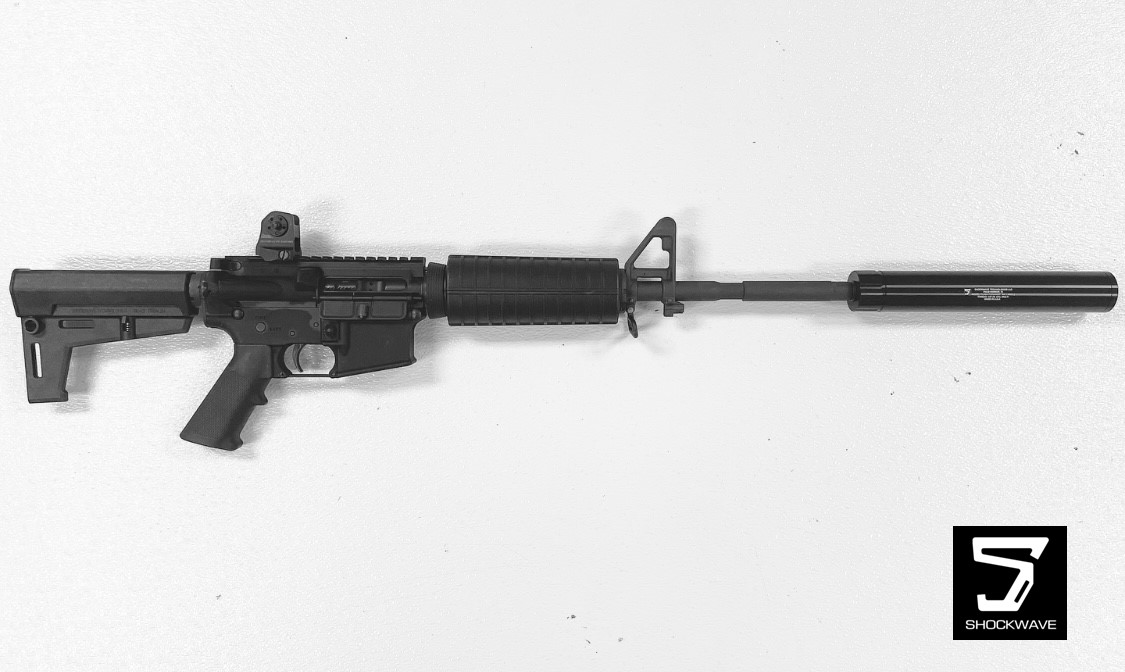
If you want to permanently affix your Flash Forward to your barrel in an ATF-approved manner, we have the parts and information you need to get the job done right.
Some may have heard that silver soldering isn’t easy. Without the right tools and supplies, that’s true. But with our kit and the right torch, you can accomplish it just about as easy as sweating a copper pipe joint.
What’s included in our “kit”:
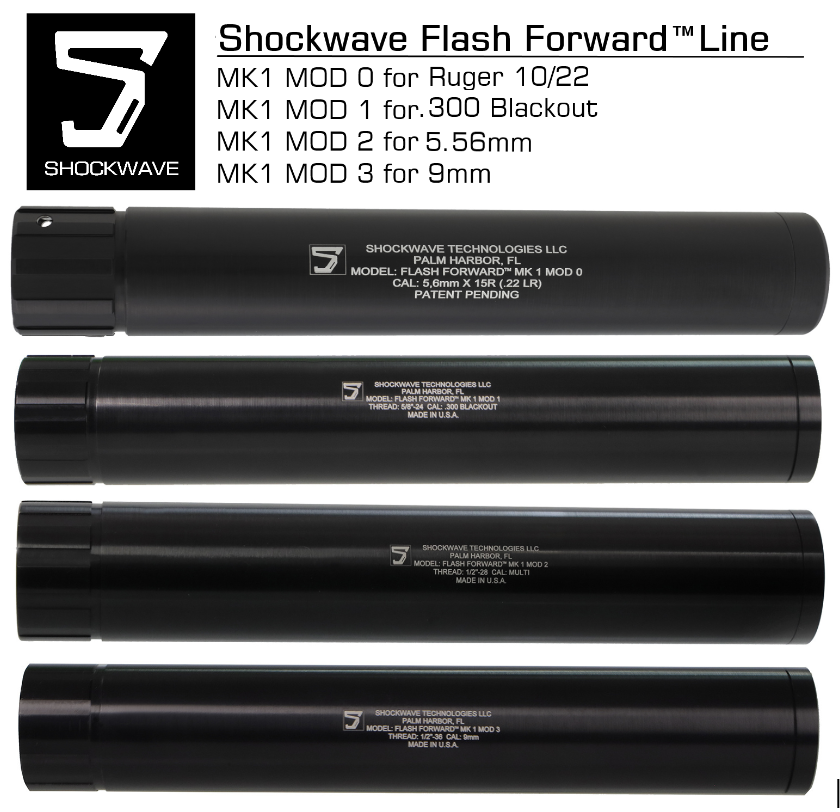
- Silver solder: First of all, you may already know that, if you are going the silver-soldering route to permanently attach a muzzle device, ATF requires a minimum temperature of 1,100 degrees Fahrenheit. Our 56% silver solder has a minimum melting point of 1,205 degrees.
- Flux: Second, if you’ve ever soldered or sweat pipe before, you know the flux is the key to success. Wherever you apply the flux, that’s where your solder is going to go. We supply a small baggie of flux designed specifically for silver soldering. Plenty to get the job done right.
Tools you’ll need to accomplish the task:
- Torch head: Shockwave recommends the BLUEFIRE Handy Cyclone Torch Head. You can find it at Amazon (Here)
- MAPP gas: You will also need some MAPP gas (or at least today’s MAPP-equivalent). Find it at either Amazon (Here)
Instructions:
Once you’ve got all the pieces collected—firearm, Flash Forward, silver soldering kit, torch head, and gas—it’s time to “light this candle”!
- If possible, remove the barrel from your firearm. Secure it in a padded vice, if you have one available. Otherwise, secure it such that it’s not going to move around on you.
- Remove your existing muzzle device, if so equipped.
- Degrease your barrel’s muzzle threads. Rubbing alcohol works well.
- Cut off a corner of the baggie of flux; apply a generous amount all around the threads. Remember: Wherever you apply the flux, that’s where your silver solder is going to go.
- Thread on your Flash Forward, ensuring you “index” it in the position you want it.
- Don your safety equipment. We recommend a minimum of eye protection and leather gloves.
- Now the fun part. Light your torch. Keep it a little ways away from the junction formed by the Flash Forward and your barrel and gently warm the overall area for about 20 seconds. We’re not looking to make anything glow at this point. Just bringing everything up to temperature. The flux will most likely start to dry and might even start to get crusty-looking. That’s what you want.
- Now focus the tip of the blue part of your flame at the junction between the Flash Forward and your barrel. Heat this area for a few seconds. This area will just start to glow and you’ll notice that the flux will start to liquefy again. It may even bubble. This is when you need to apply your solder.
- Holding one end of the length of solder, touch the other end to the junction of the Flash Forward and barrel. Drag the end of the solder all around the junction. You should see the solder liquefying and getting pulled into the junction.
- Once you’ve gone all around the junction, you’re done. Remove the torch from the area and turn it off.
- Let everything cool for about an hour. Once everything is cool to the touch, you can take a clean dry rag and wipe off any residue.
**Firearm shown not included
Additional information
| Weight | 3.0 oz |
|---|
Recent Comments